Managing REC Abatement
Green certificates, also known as Renewable Energy Certificates (RECs), provide a mechanism to track and quantify the environmental benefits of renewable energy generation. By purchasing and retiring RECs equivalent to their energy consumption, companies can claim the REC’s environmental benefits to reduce their carbon emissions and minimize their overall environmental impact.
This section shows how you can import and allocate purchased RECs to your business entities to reduce individual emissions, so as to achieve your organization’s carbon reduction goals.
Prerequisites
Contact your system administrator if your account does not meet the below requirements:
Ensure your account has the
view adminorsuper adminrole for access to REC data entry feature.Ensure your account has permission to manage the relevant entity data.
Import RECs into Root Entity
REC will be first imported to the root entity, after which you can allocate the REC balances down the organization hierarchy to the bottom-most child entities to conduct emission deductions.
Note
Import RECs in chronological order, starting with RECs with earlier performance cycles.
Click on Target and Abatement > REC in the left navigation pane.
Select the view that you want to import an REC.
Click + Import REC.
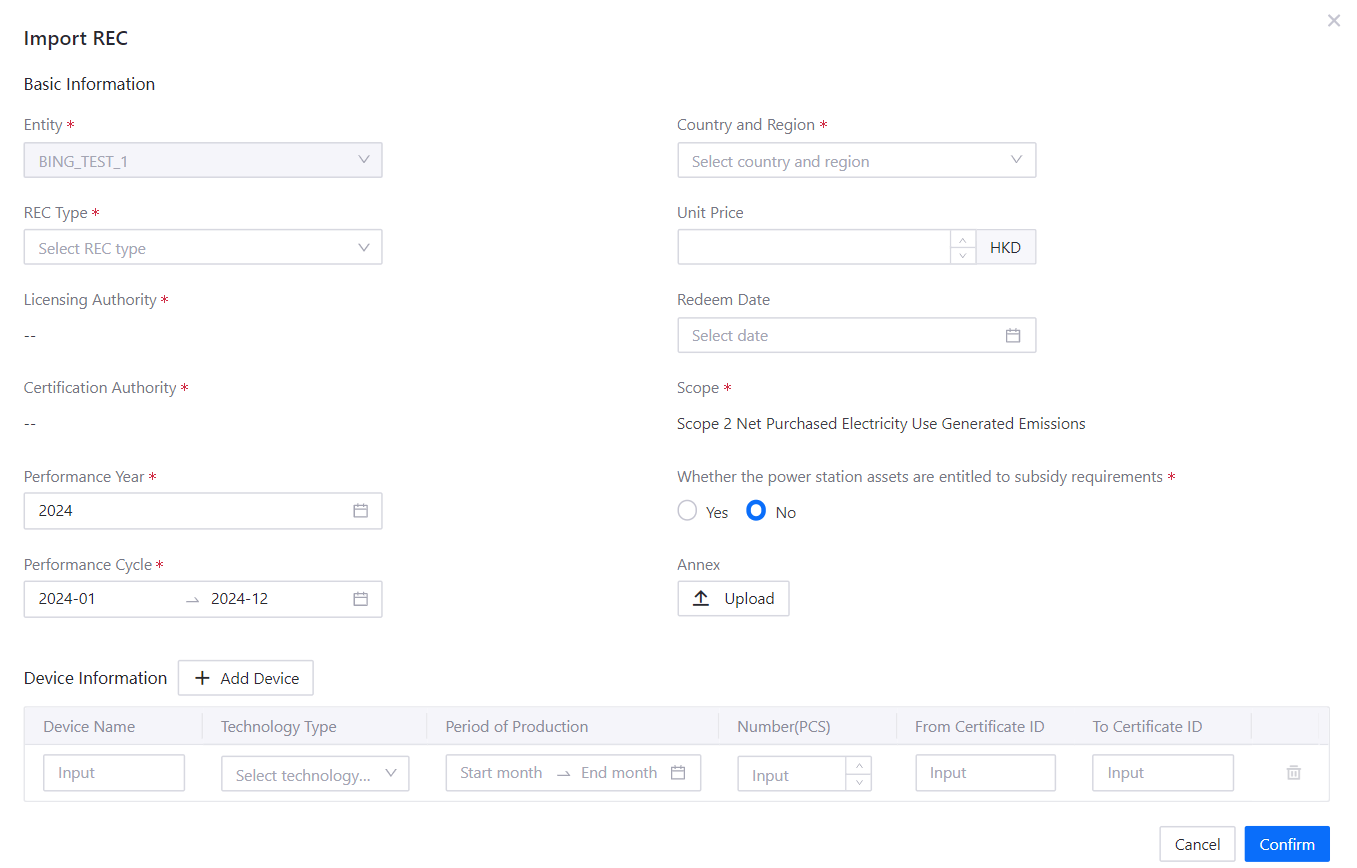
Fill in details of the purchased REC:
REC Type: Select the appropriate REC type corresponding to your REC from the dropdown list.
Unit Price:Enter the price of the purchased REC.
Redeem Date:Enter the redemption date of the REC.
Performance Year:Enter the year of the renewable energy production.
Performance Cycle:Enter the REC’s validity period during which the environmental benefits of the REC are active and can be accounted for.
Whether the power station assets are entitled to subsidy requirements: If the power station associated with the REC is eligible for financial support or assistance from government programs or other entities, check the option
Yes. Otherwise by default this field is checkedNo.Annex:Upload your REC document in either
PDF, JPG, PNG, or JPEGfile format.Device Information:Enter the information of all associated renewable energy devices as indicated on the REC.
①
Device Name: Enter the renewable device name.②
Technology Type: Select the corresponding type of renewable device used for power generation in your REC.③
Period of Production: Enter the renewable energy production time frame.④
Number: Enter the quantity of certificates redeemed on your REC.Note
Each
RECcorresponds to1 MWh of electricitythat can be allocated to business entities.⑤
From Certificate ID: Enter the first certification ID in your REC certificates.⑥
To Certificate ID: Enter the last certification ID in your REC certificates.
Click OK after inputting the required details to compute this record into system.
The keyed in details will be displayed as a REC record under the REC tab.
Allocate REC to Business Entities
Now you can start transferring REC balances to your individual business entities and monitor the reduction gap needed to achieve net-zero emissions. As REC corresponds to the production of renewable energy, it can only be used to reduce grid-produced emissions from non-renewable sources.
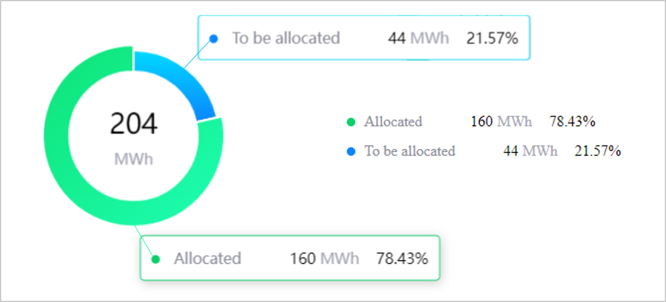
Available REC balance is expressed in a pie chart (MWH) in allocation overview. The blue to be allocated MWh value indicates the remaining available REC balances that can be assigned, whereas the green allocated MWh value indicates REC balance that has been used up in previous allocations.
Note
REC balances are converted from the quantity of REC inputted into system under the number column record. Importing 1 REC translates to 1 MWh of deductible electricity balance.
Click on Target and Abatement > REC in the left navigation pane.
Select the view that you want to allocate an REC.
Locate the REC record that you wish to allocate, and click on the
 Allocate button.
Scroll to the end of the page and click Edit to proceed to input the allocation amount.
In the
Allocation(MWh)column, allocate available REC balances to respective entities. See REC Parameters for page parameter details.Note
You can distribute the allocation among different entities.
Click Allocate to assign REC allocations in the system.
Note
Only the bottom-most child entities will be displayed under the Entities column as they contain actual emissions data that allows for emission calculations. Parent entities are not shown because data is aggregated from child entities.
Calculate REC values in preview dashboard
To view REC abatement data in the preview dashboard, you need to perform the data accounting action.
Return to Data Management > Organization in the left navigation pane.
Click on the
 data accounting button to trigger the data computation process for the allocated REC records.
Once data accounting is completed
 , you can view the updated emission reductions in your organization hierarchy. It may take a while to process data computation, if you do not see the results reflected or an error
  showed up, refresh the page and try again.
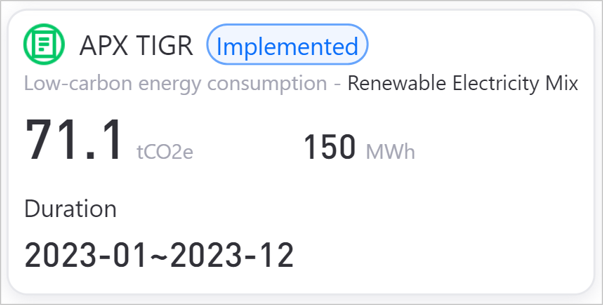
REC data is accounted as an abatement value, and visualized as a blue rounded stacked bar within the entity card.
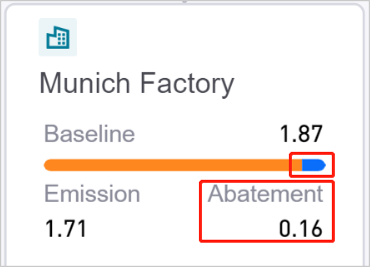
It will also appear as an abatement record under the abatement tab in right side bar.