Setting Up the Emission Model
A model is a defined entity type that corresponds to specific organizational asset categories, such as construction sites, databases, IoT buildings, and office sites. By tagging entities with predefined models, you can classify and oversee your organization’s asset holdings based on asset types (transport, buildings, sites etc.), lines of business (supplier, business partner, subsidiaries etc.), or geographical regions.
Grouping entities with similar properties under the same model allows you to:
Configure data display for emission portfolio dashboards. This function requires preset Business entity model to be selected for all the bottom-most layered entities.
Aggregate data based on each specific model type, and examine emissions data within narrower scopes.
Export data report based on specific model types, such as data sheets of office sites, supplier-owned assets, transport fleets, or business partner emissions.
Configure and store properties information for different entity types, which includes country region, address, contact numbers, timezone, and mileage etc.
This section shows how to create and apply models to entities.
Prerequisites
Contact your system administrator if your account does not meet the below requirements:
Ensure that your account has a
super adminorview adminrole.Ensure that you have created necessary entities under the current view.
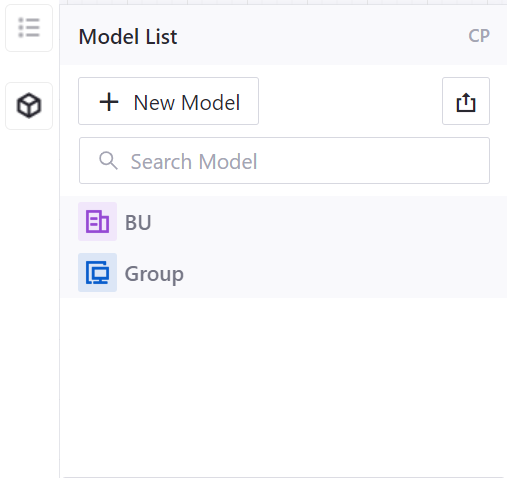
Creating a Model
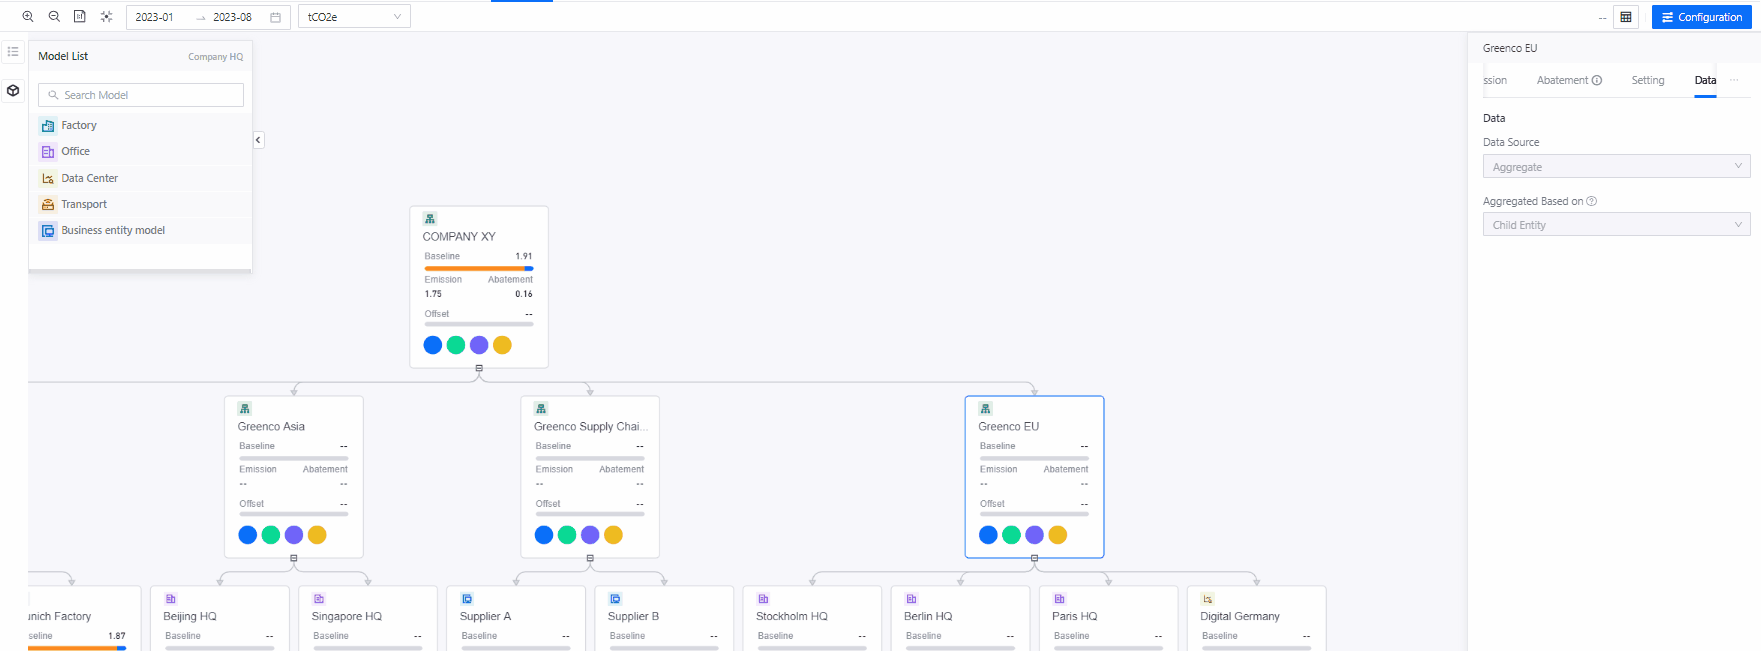
Click on Data Management > Organization in the left navigation pane. In the view tab, click on the view you have created, then click Configuration in the toolbar to enter the editor dashboard.
Select the model list button
 and click on the mini arrow
  in the left sidebar to expand the model list library sidebar menu.
Select + New Model to add a new model.
Enter the following details to create a model:
Model Name: Specify your model name.
Model ID: Specify your model ID.
Type: Select customization.
Icon: Select an icon to represent your model on the dashboard.
Note
The model type and model ID cannot be changed once the model is created.
Select OK and the new model will be added to the model list library sidebar.
Applying Model to Entities
Ensure you are in Configuration mode, in the model list library sidebar, hover over the model you have created and click on
 button to assign models to entities.
In the Model Configuration window, there are two ways you can assign models:
Manual Selection: In the dashboard preview panel, click on entities and choose the range to assigned to the model.
Batch Selection: Click on the
quick selectiondropdown bar to select entities in batches based on layers. You can batch select the bottom-most layer by opting for theleaf noteoption.
After selecting the entities you want to associate with this model, click on Trigger to link the models to the entities.
Click the Preview button in the toolbar to return to the preview dashboard. Your entities will be labeled with the corresponding model icons you assigned.
You can now choose models as the basis for aggregating emission data, allowing you to compute and analyze emission volumes across various entity categories.
Defining Property Information for the Model
Click Configuration in the toolbar to enter the editor dashboard.
In the model list library sidebar, hover over the intended model you wish to configure and click on
 button to define property fields for the selected model and its associated entities.
In the Property Configuration pop up window, under Property > Template, select a pre-defined property field template based on your entity asset type.
Select checkboxes to enable relevant properties fields for the model and associated entities.
Click OK to save and activate the above selection.
Now the above property fields will be enabled for all entities linked to the selected model type.
To update property information for each entity, switch back to Preview mode. Then select an entity card associated with a configured model. On the right side bar, navigate to the Settings tab. Here, you can input relevant values into the specified property fields and utilize the Temporal Data option to provide data sheet properties, such as monthly employee count.

Unlink Model from Entities
You can unlink model from entities by the following steps:
Click Configuration in the toolbar to enter the editor dashboard.
Hover over the model name that you wish to unlink and select
button.In the pop up window, unselect the entities highlighted, then click Trigger to save changes.
Click on Preview button to return to preview dashboard, you will see the model unlinked and model icon removed from the entities.
Batch Export Models
You can follow these steps:
Click on Data Management > Organization in the left navigation pane. In the view tab, click on the view you have created, then click Configuration in the toolbar to enter the editor dashboard.
Select the model list button
and click on the mini arrow in the left sidebar to expand the model list library sidebar menu.Select the Export Model button in the top right corner, which will open the Export Model popup.
Choose the export type:
Meta: Export the attribute data in JSON file format.
Value: Export the attribute data along with their corresponding values in an Excel file format.
Select the desired model and the year (if exporting value data), then click Export to view and download the exported file.
Batch Import Models
You can follow these steps:
Click on Data Management > Organization in the left navigation pane. In the view tab, click on the view you have created, then click Configuration in the toolbar to enter the editor dashboard.
Select the model list button
and click on the mini arrow in the left sidebar to expand the model list library sidebar menu.Select the Import Model button in the top right corner, which will open the Import Model popup.
Choose the import type:
Meta: Import the attribute data in JSON file format.
Value: Import the attribute data along with their corresponding values in an Excel file format.
Select the desired model and the year (if importing value data), then click Import.
Under the Import Log section, you can check the status of the file upload.
Upload Success: The imported data will be saved under the relevant model.
Upload Failure: Click the Error Message button to see the number of failed entries and the reasons for the failure. Make the necessary changes and retry the upload.